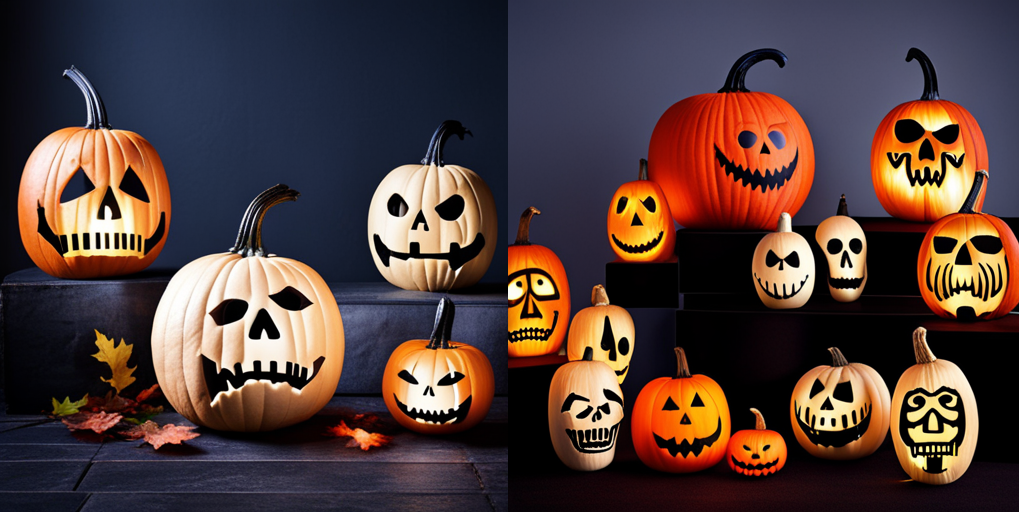
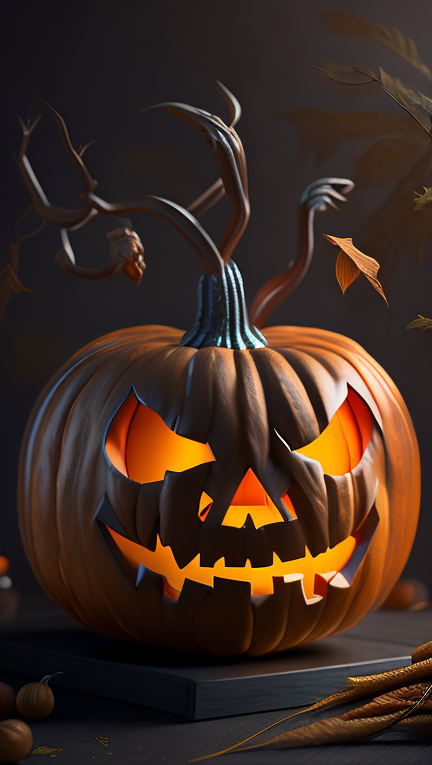
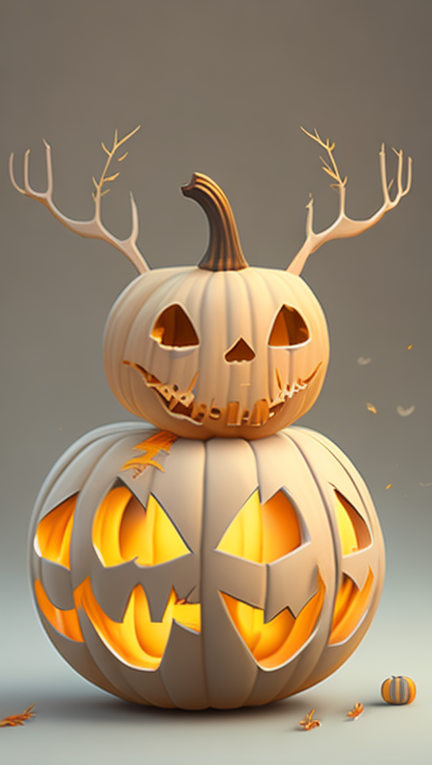
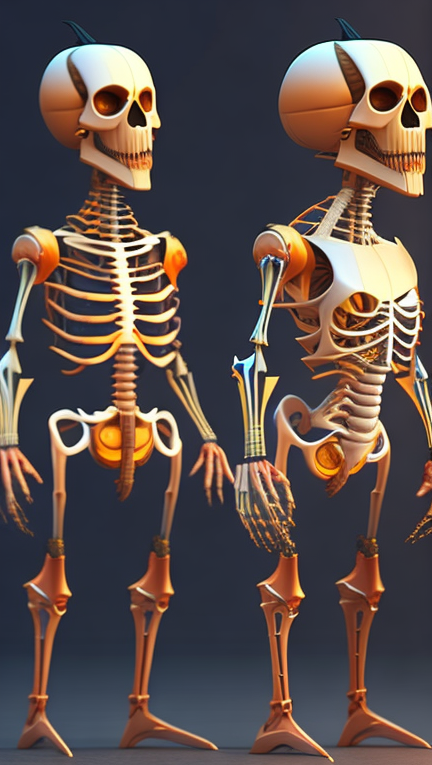
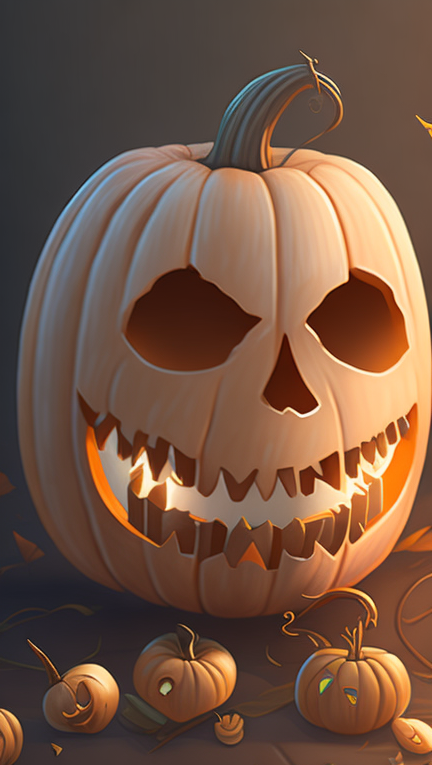
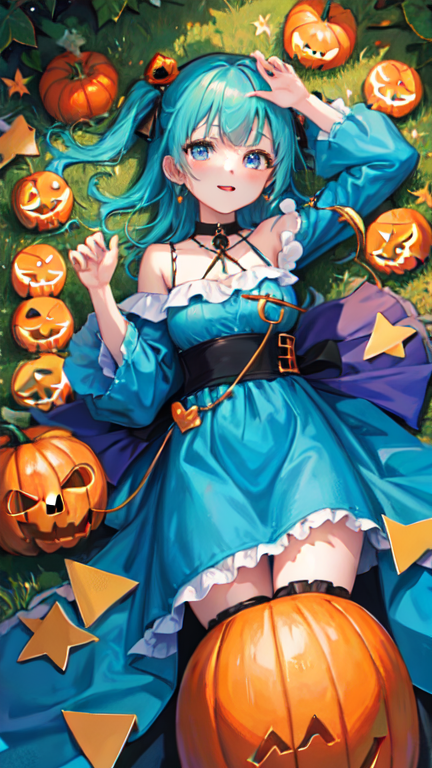
Halloween Pumpkin Skeletons Ideas
Halloween Pumpkin Skeletons
Creating a skeleton pumpkin can be a fun and creative Halloween project! Here’s a step-by-step guide on how to make one:
Materials You’ll Need
- Pumpkin (medium to large size)
- Carving tools (small saw, scraper, scoop)
- White paint or white spray paint
- Black paint or black permanent marker
- Paintbrushes
- Optional: Glow-in-the-dark paint or paint for added effect.
Steps
Selecting the Pumpkin: Choose a pumpkin that has a flat surface on one side. This will be the side where you’ll be creating the skeleton design.
Prepping the Pumpkin
-
- Clean the pumpkin’s surface by wiping off any dirt or debris.
- Cut off the top of the pumpkin and scoop out the seeds and pulp from the inside using a scraper or scoop tool. You can save the seeds for roasting if you like.
Carving the Skeleton
-
- Decide on the design you want for your skeleton. You can either find a template online or create your own.
- Use a small saw or carving tool to carefully carve out the skeleton design on the flat side of the pumpkin. Start with the larger sections and work your way to the smaller details.
- Take your time and be patient, especially when working on intricate details.
Painting the Pumpkin
-
- Once the carving is complete, you can paint the pumpkin to give it a bone-like appearance. Start by painting the entire pumpkin white. You can use acrylic paint or white spray paint.
- Allow the paint to dry completely before moving on to the next step.
Adding Details
-
- Use black paint or a black permanent marker to outline the carved skeleton design. This will help the design stand out and give it a more defined look.
- Paint or draw in the eyes, nose, mouth, and other details of the skeleton.
Optional: Adding Glow-in-the-Dark Paint
-
- If you want to create a spooky effect, you can use glow-in-the-dark paint to highlight certain parts of the skeleton. This will make your pumpkin skeleton even more eerie in the dark.
Finishing Touches
-
- Once all the paint is dry, you can place a small candle or battery-operated LED light inside the pumpkin to make it glow from within. This will enhance the effect of the skeleton design.
Remember, safety is important when carving pumpkins, especially if you’re working with sharp tools. Make sure to supervise children if they’re involved in the process and use caution to prevent accidents.
With these steps, you can create a unique and spooky skeleton pumpkin to decorate your home for Halloween!

Click to rate this post!
[Total: 3 Average: 5]