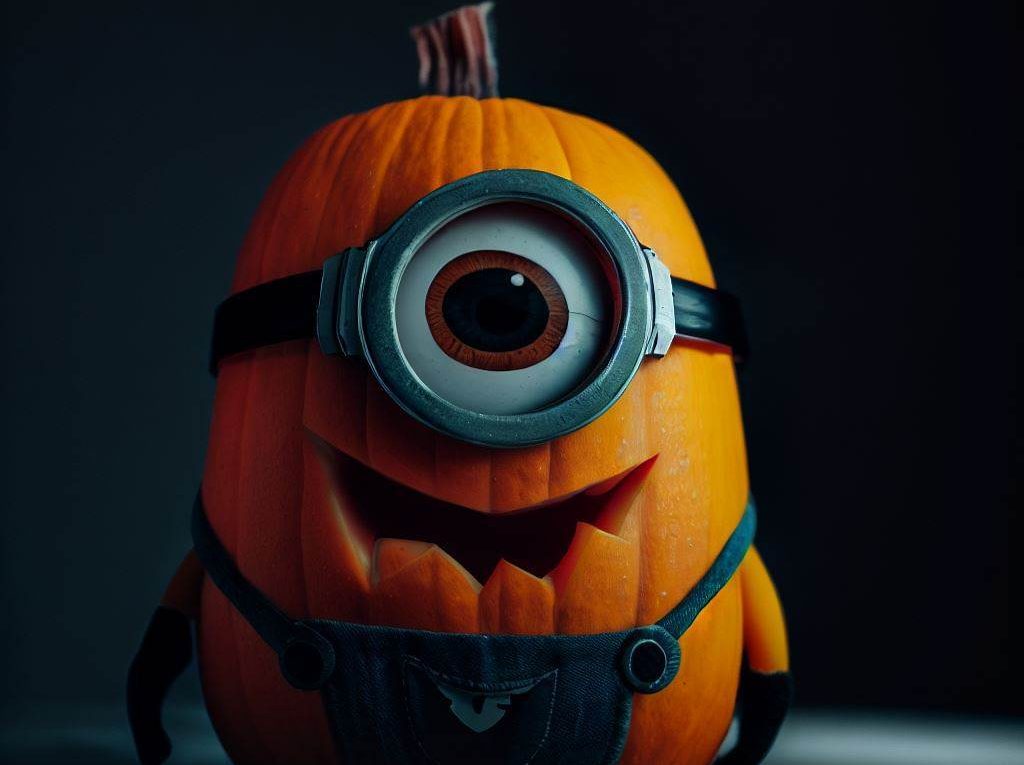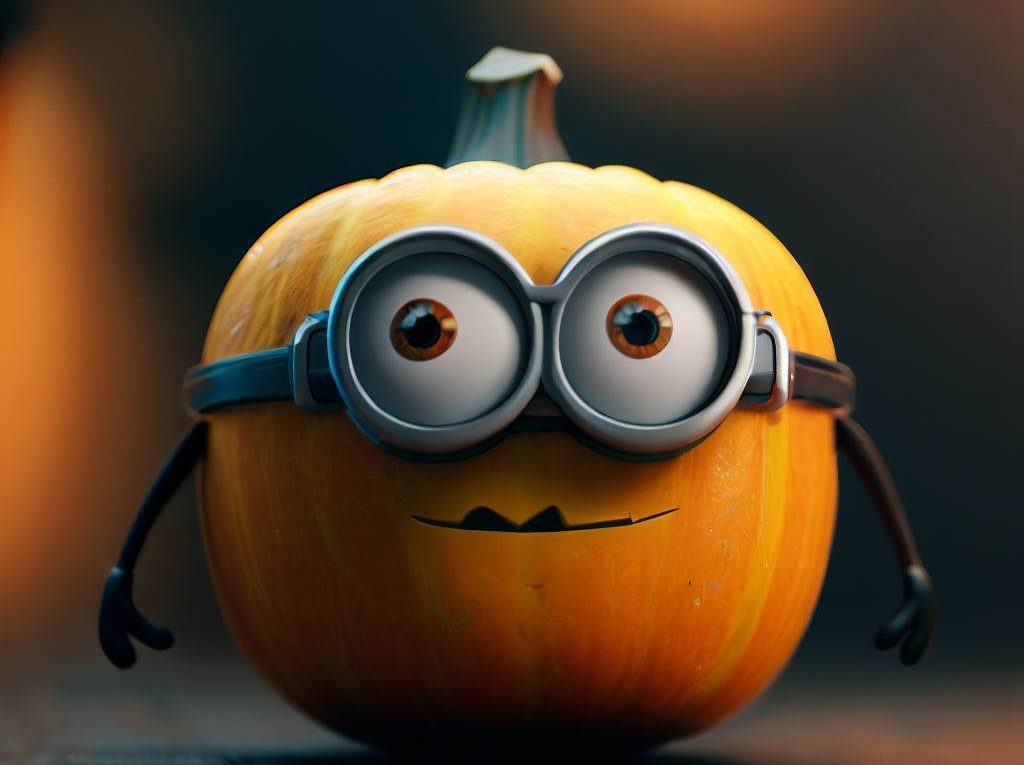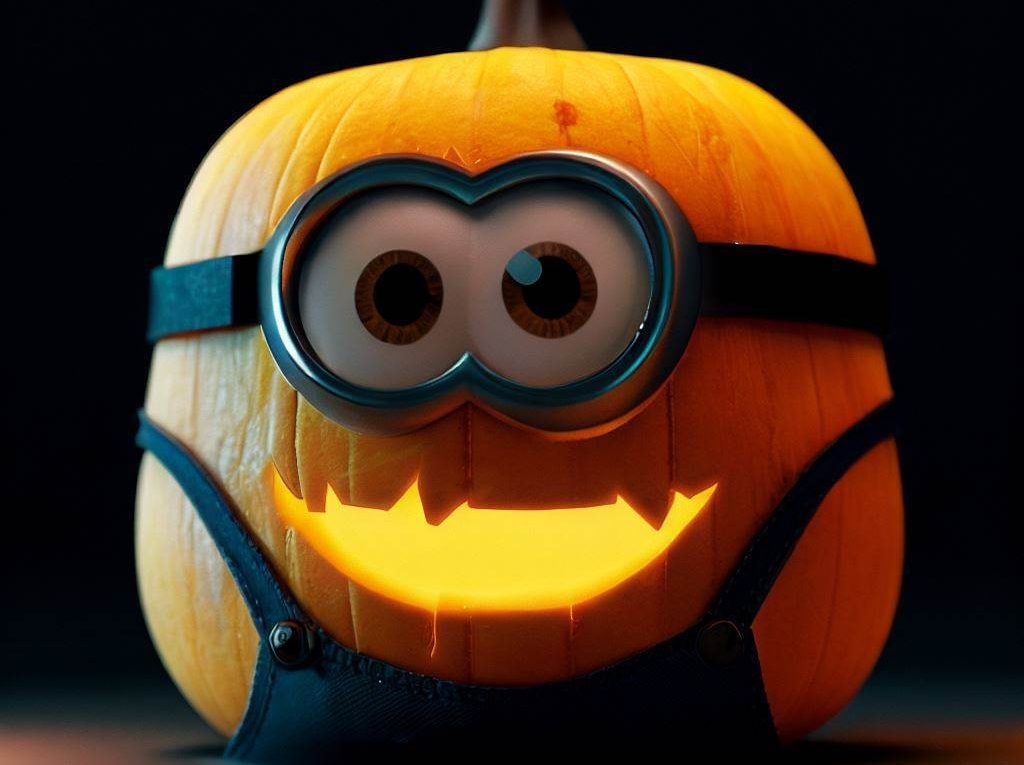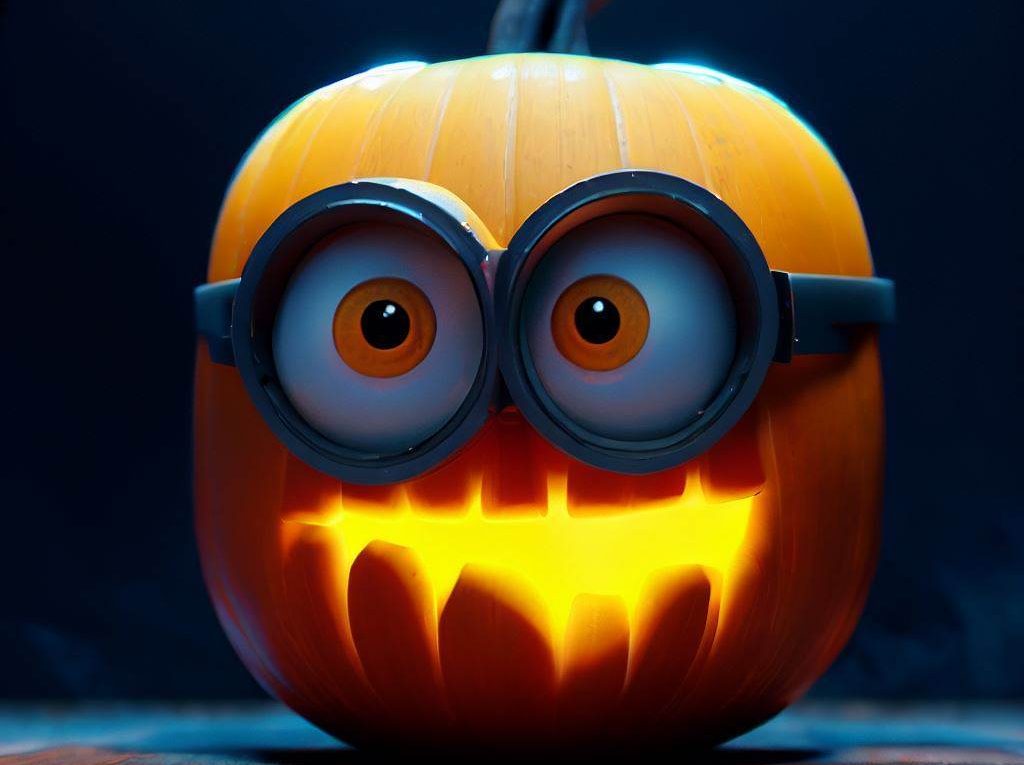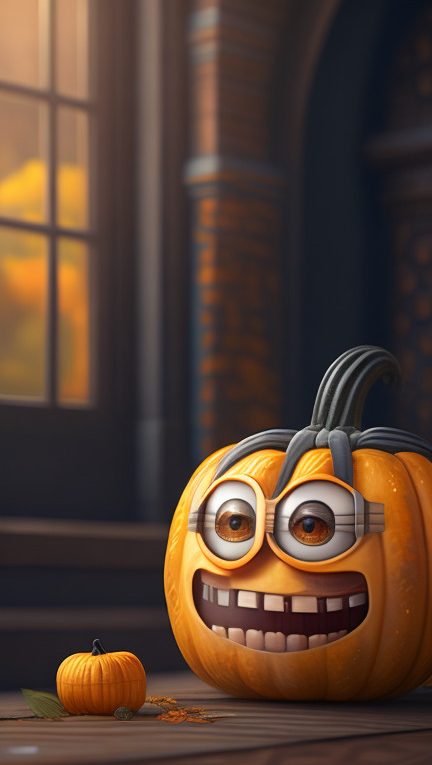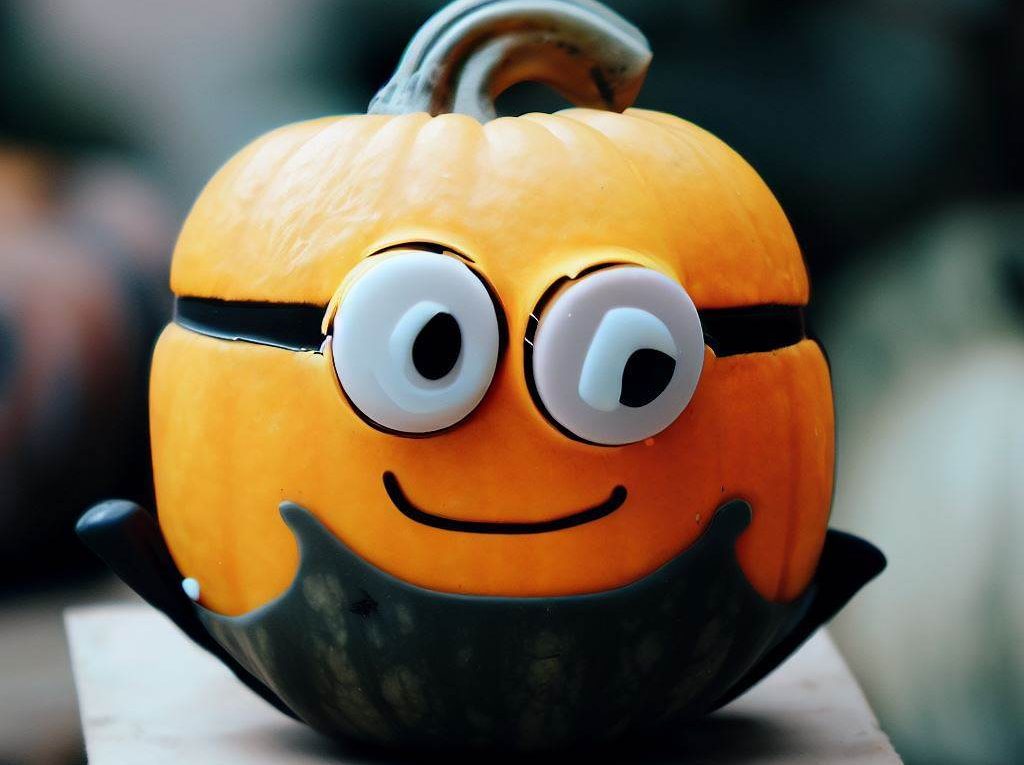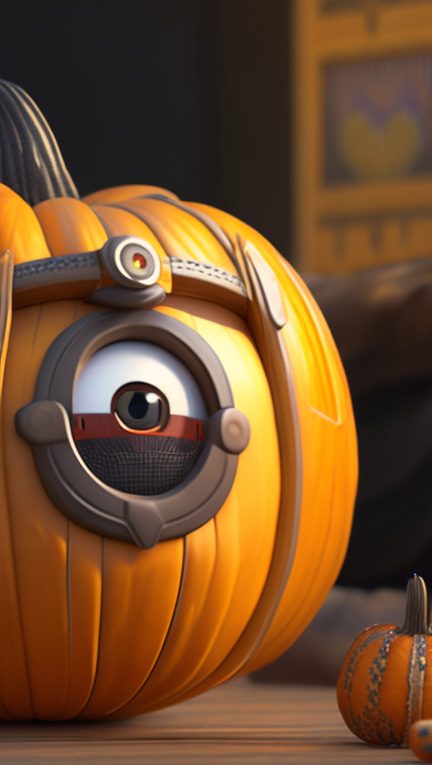
Minion Pumpkin Painting?
Creative Minion Pumpkin Painting: A Guide to Whimsical Fall Decor
As the leaves start to turn and the air becomes crisp, the fall season beckons us to embrace its festive spirit. One delightful way to do so is by adorning your home with charming minion pumpkin paintings. Whether you’re celebrating Halloween or simply looking to infuse your surroundings with whimsy, minion-themed pumpkin painting is a creative endeavor that can be enjoyed by all ages. In this article, we’ll dive into the world of minion pumpkin painting and provide you with a step-by-step guide to achieve the most adorable and SEO-friendly results.
1. Gather Your Supplies
Before you embark on your minion pumpkin painting adventure, make sure you have the necessary supplies ready. Here’s what you’ll need:
- Mini pumpkins (real or artificial)
- Acrylic paints in yellow, blue, black, white, and brown
- Paintbrushes in various sizes
- Palette for mixing colors
- Water and paper towels for cleaning brushes
2. Prep Your Pumpkin
Start by cleaning your mini pumpkin to ensure a smooth painting surface. If you’re using a real pumpkin, make sure to wipe off any dirt and dry it thoroughly. If you’re working with an artificial pumpkin, clean it to remove any dust.
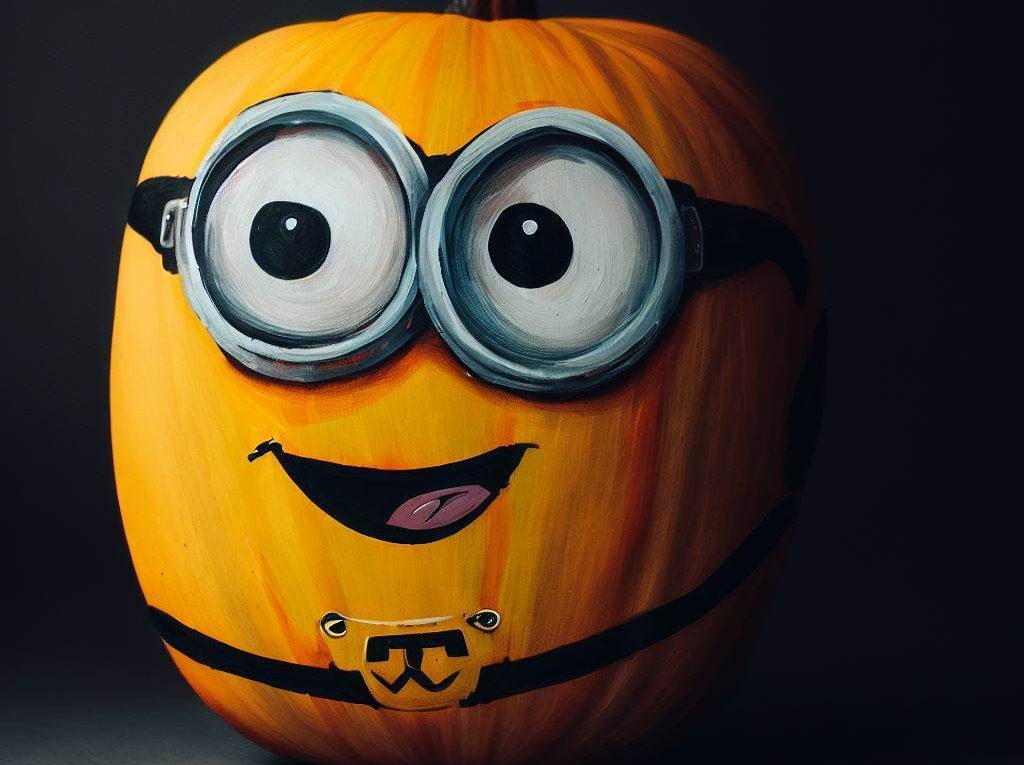
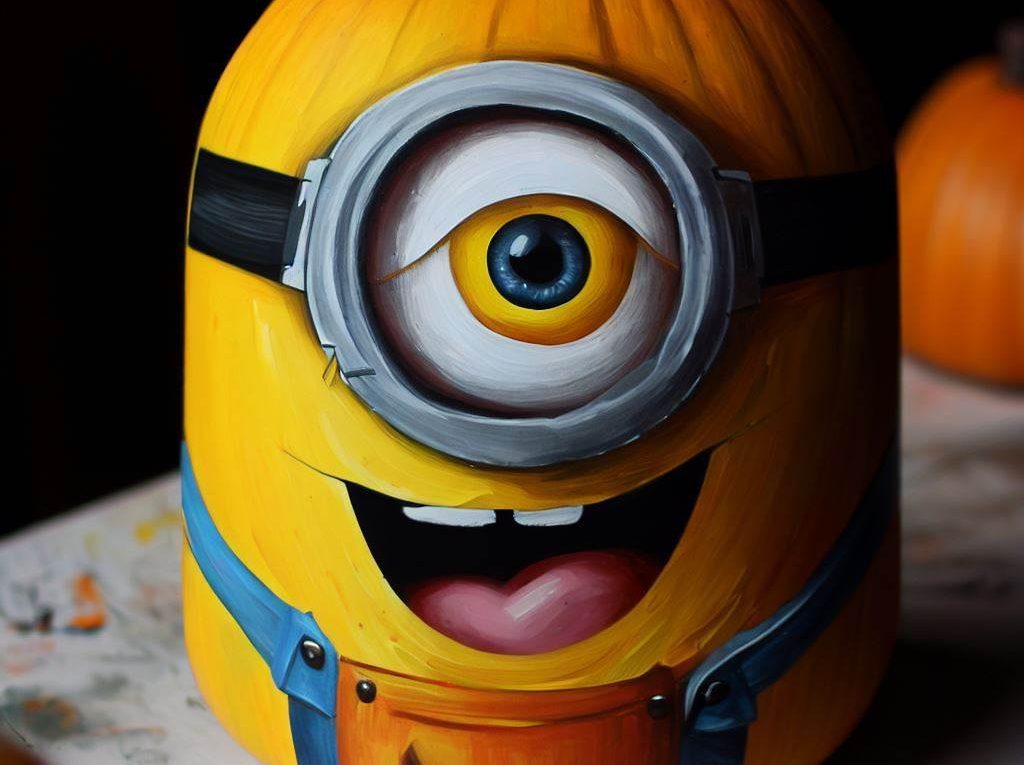
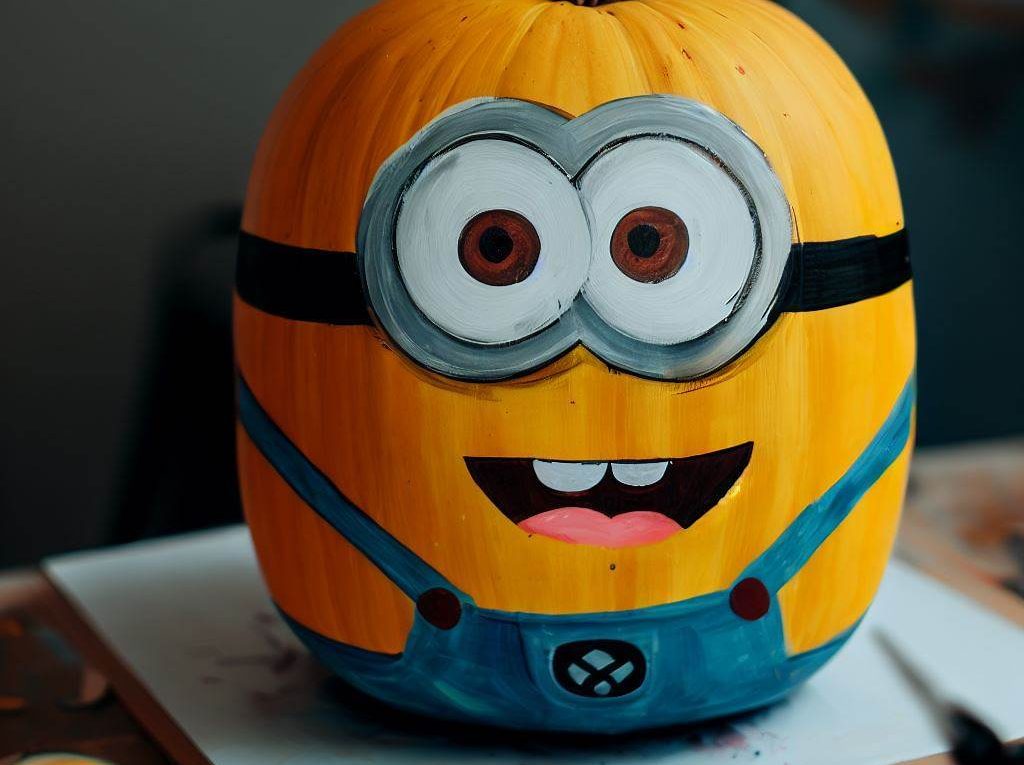
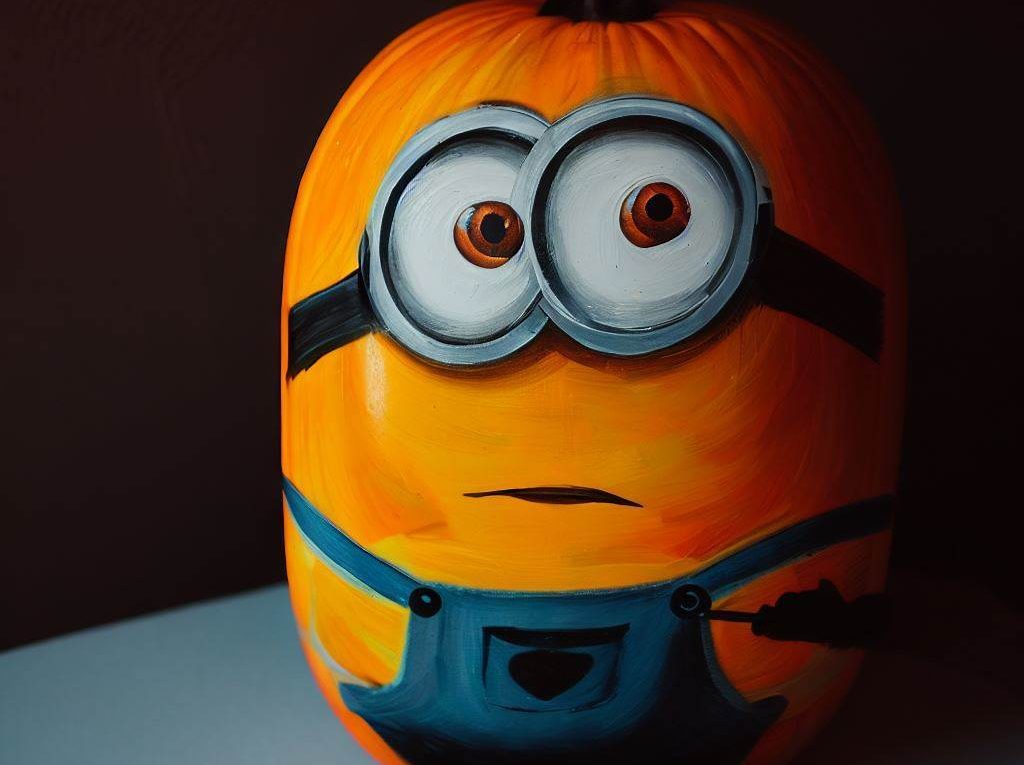
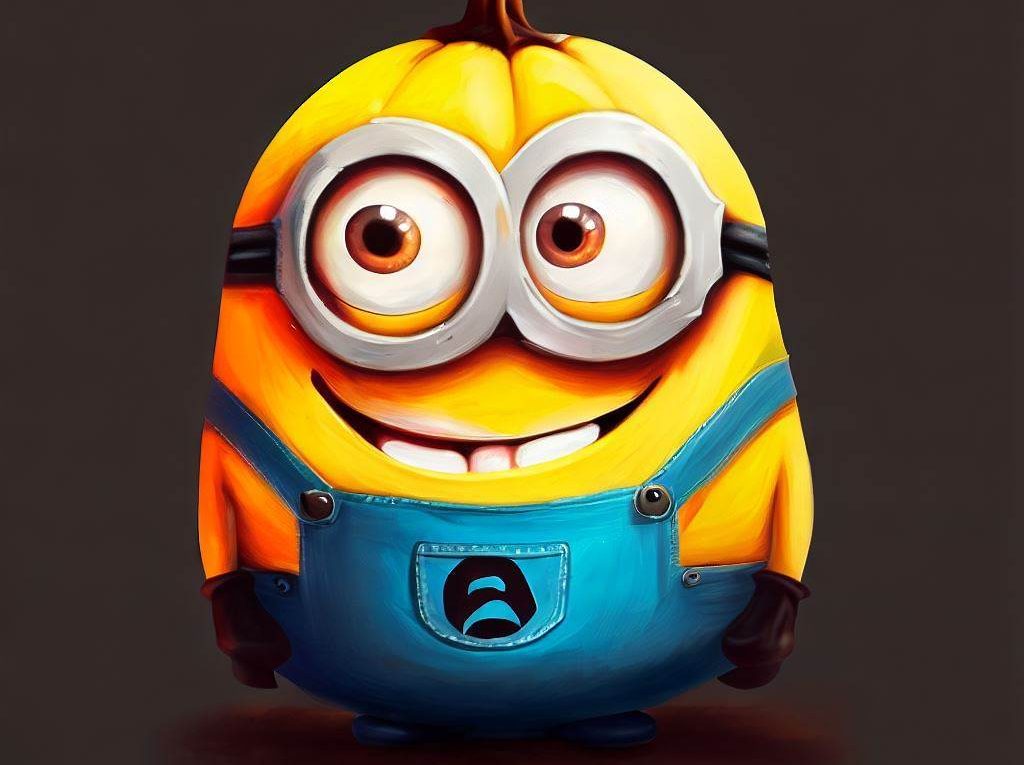
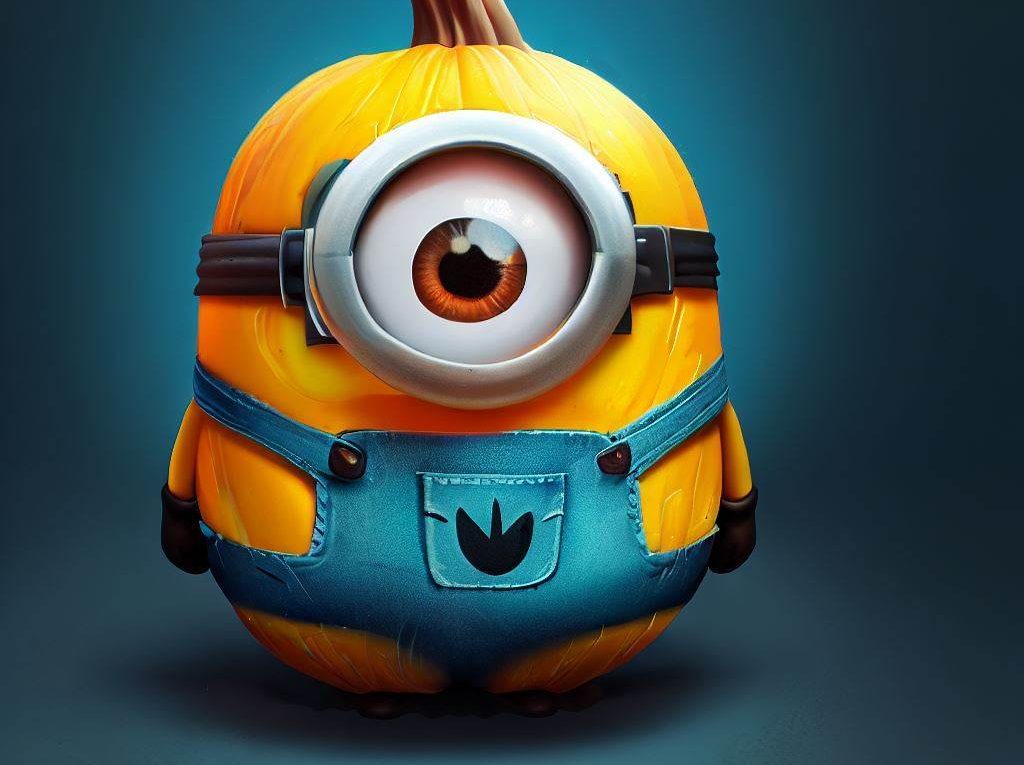
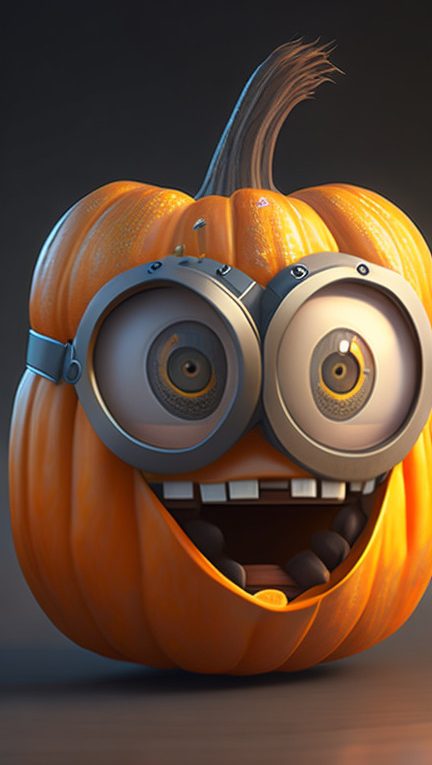
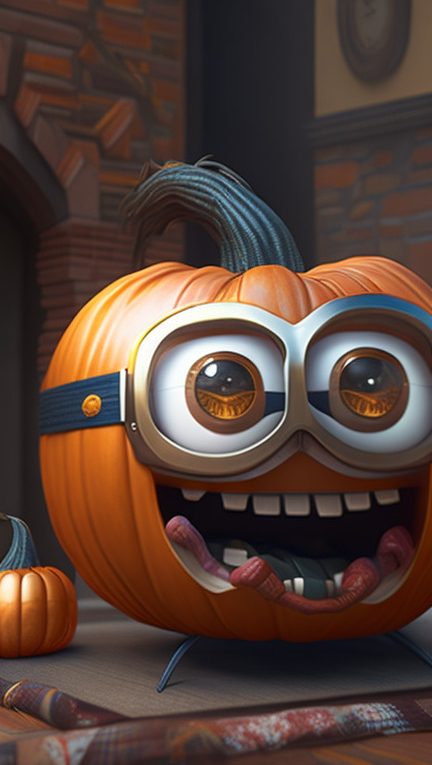
3. Base Coat: Minion’s Signature Yellow
To achieve the iconic minion look, begin by painting your pumpkin entirely in a vibrant shade of yellow. Acrylic paint works well for this, providing good coverage and vibrant color. Apply two coats if needed, allowing each coat to dry before adding the next.
4. Create the Overalls
Once the yellow base coat is dry, use blue acrylic paint to create the minion’s overalls. Paint a band across the middle of the pumpkin to resemble the denim overalls. Allow the blue paint to dry before proceeding to the next step.
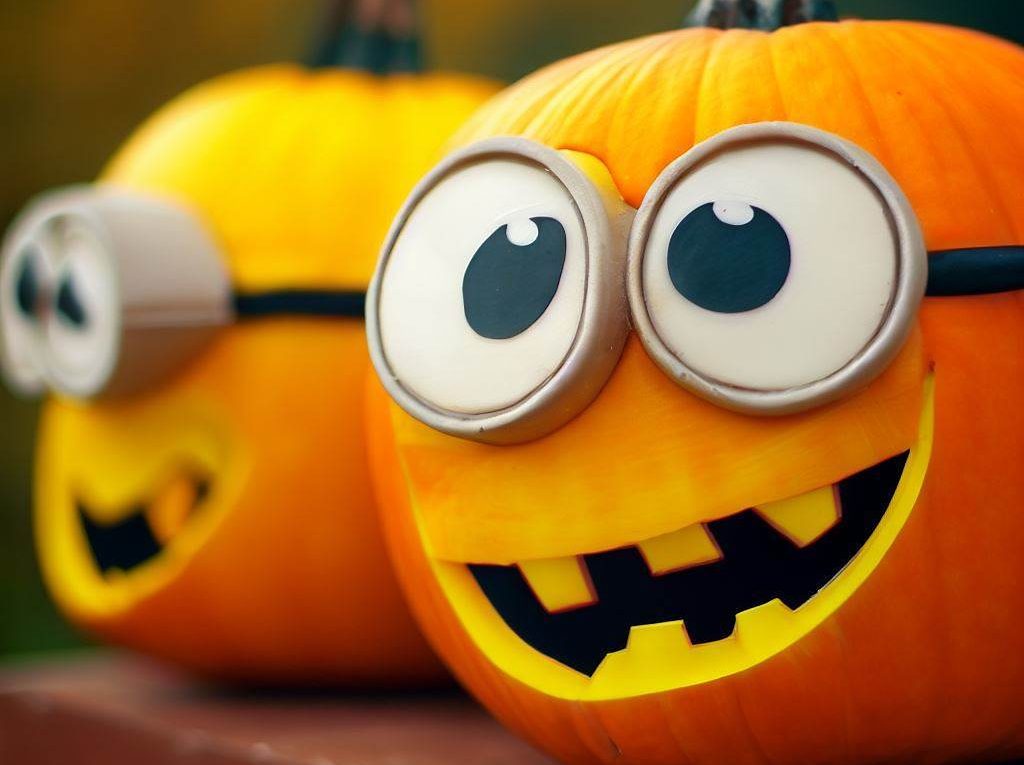
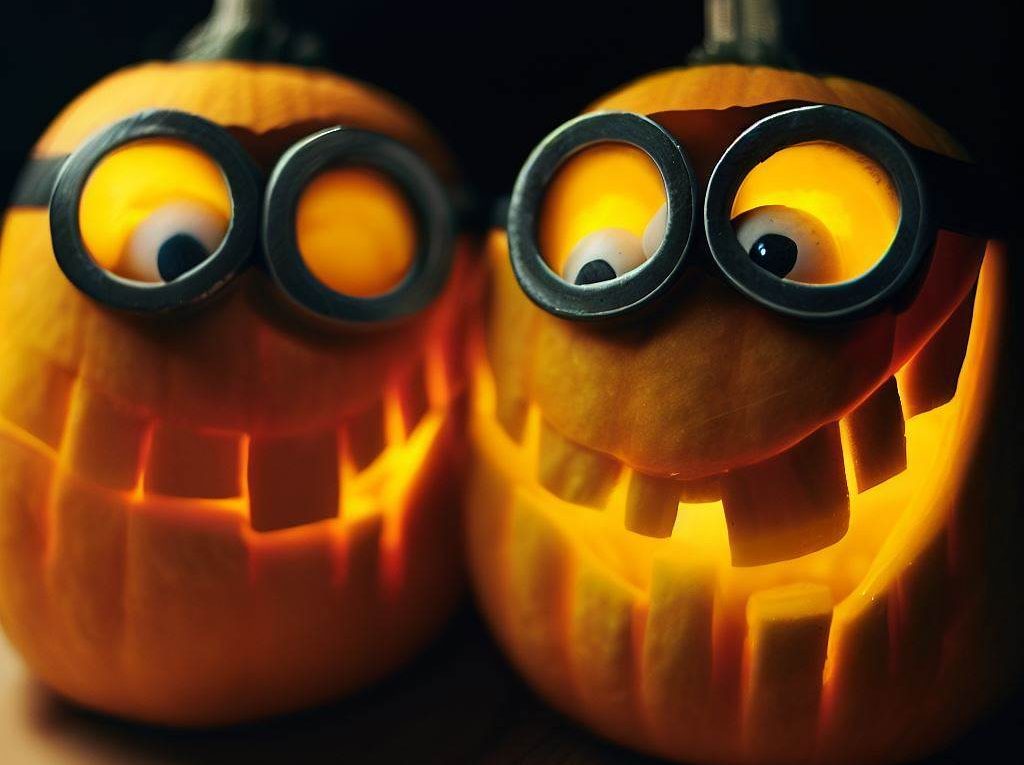
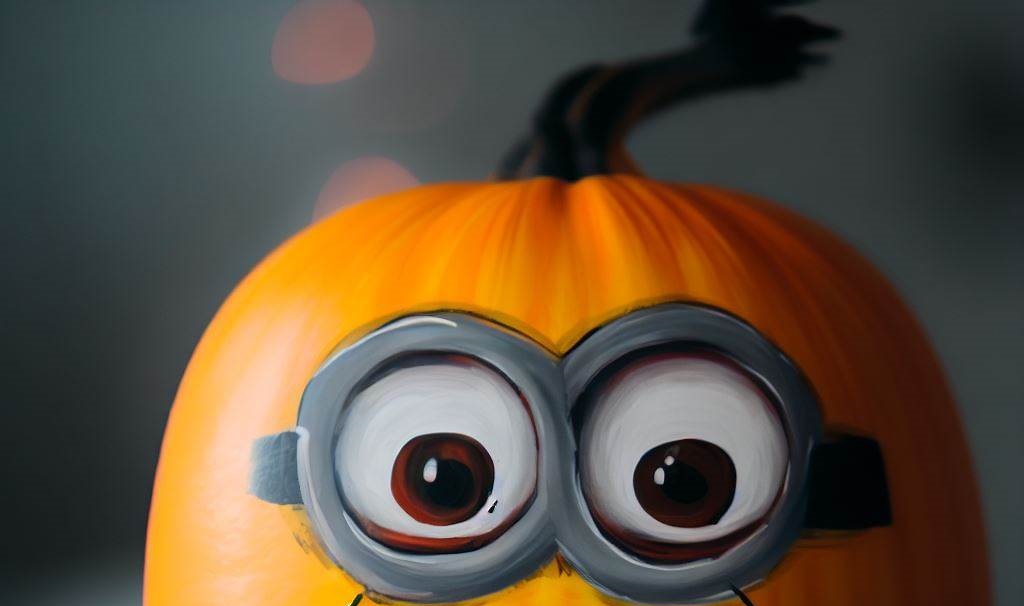
5. Add Goggles and Eyes
Now it’s time to give your minion its characteristic goggles and eyes. Use black paint to create the band of the goggles above the overalls. Then, dip the end of a thin paintbrush into white paint and carefully add two large, expressive eyes on the upper part of the pumpkin.
6. Enhance the Eyes
To make the eyes pop, add a small dot of black paint to the center of each eye as the pupil. This will bring the minion’s adorable expression to life.
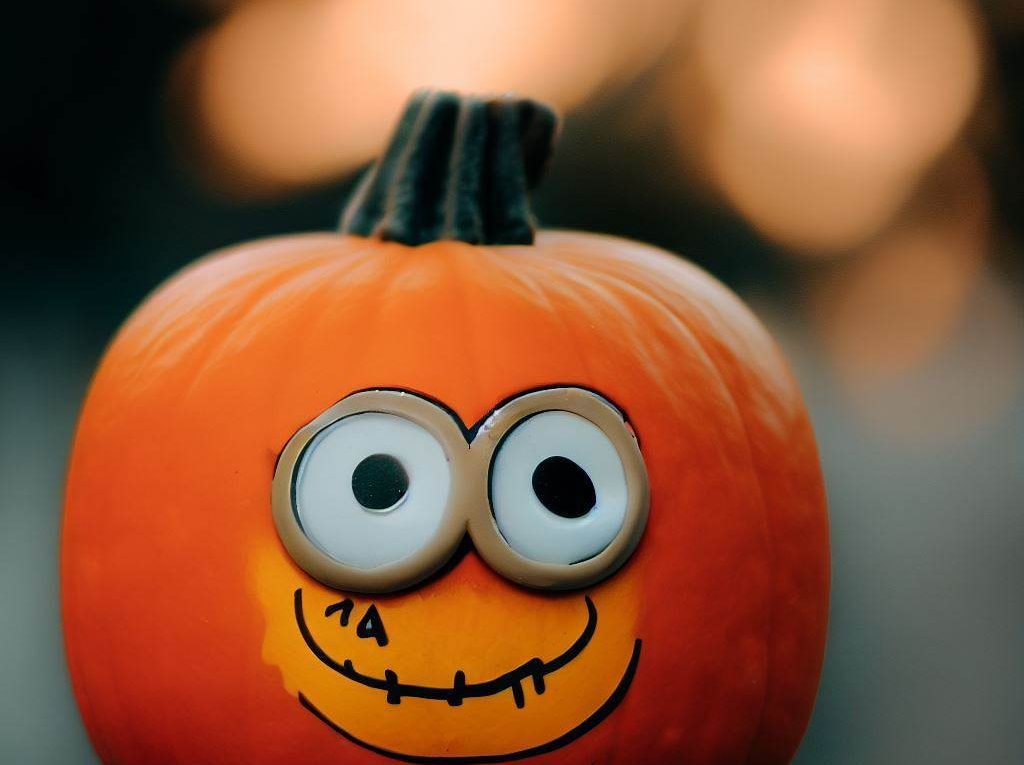
7. Create the Mouth and Hair
Using black paint, carefully draw a smiling mouth below the eyes. Minions are known for their playful and mischievous smiles, so feel free to experiment with different mouth shapes to capture their personality. Next, use brown paint to create the minion’s spiky hair on top of the pumpkin.
8. Final Details
Complete your minion pumpkin painting by adding small details like the silver goggle straps and any additional accessories you’d like, such as a logo or a favorite minion’s name.
9. Seal Your Creation
To ensure your minion pumpkin painting lasts throughout the fall season, consider applying a clear acrylic sealer. This will protect the paint from moisture and keep your masterpiece looking fresh.
Conclusion
Creating a minion pumpkin painting is a delightful way to celebrate the fall season and showcase your creativity. With a few simple steps and the right supplies, you can transform an ordinary pumpkin into a whimsical and adorable work of art that brings smiles to all who see it. Whether you’re decorating for Halloween or just adding a touch of fun to your home, minion pumpkin painting is a craft that everyone can enjoy. So, gather your supplies, unleash your artistic flair, and let your imagination run wild as you bring these lovable characters to life on your pumpkins.